
It’s half term so just a quick post this week. I thought I’d run you through my simple fireplace make over. If you follow me on Instagram you’ll probably already have noticed that I’ve made a few changes.
It all came about when I was deciding whether or not to purchase a Stendig Calendar for the 3rd year running. I love it so much but they are getting much more popular now and I fancied a change. However I knew I would miss not having it so I decided to mix things up a bit by hanging it in a different room. Shopping your own home is such a great way to give things a new lease of life. I often look around and feel the need to shake things up a bit, but that doesn’t necessarily mean having to spend a fortune on new stuff. First look around at what you have and try moving things into different rooms. That way you won’t be over crowding by adding more clutter. Anyway, more on that in a future post… back to my fireplace makeover!
So once I had decided to move the Stendig to my dining room, I then had to decide what to put above my fireplace?! The art that I would love to replace it with is thousands and thousands of pounds so until I win the lotto I decided to get the paint brushes out and make the chimney breast more of a feature wall. I knew that I still had some dark grey paint (Scree by Little Greene Paint company) left over from my Son’s bedroom so I went for a bit of a contrast to the Farrow & Ball Stiffkey Blue that I already have on my walls. The fire surround was mahogany which wasn’t really to my taste so I checked with our landlords and they said it was fine to paint it. So after raiding my paint supplies for a black or thereabouts I found some left over oil based eggshell in Basalt, again by Little Greene. First of all I did a bit of sanding down and then used my all time favourite primer, Zinsser Bulls Eye 1-2-3. I cannot rate this stuff highly enough! I used it for my kitchen tile makeover and they still look great a year on. It’s the perfect primer for any hard to stick surfaces, even without sanding and it dries within 30 minutes so you can recoat within one hour! I don’t know about you but I’m not one for sitting around waiting for paint to dry so this is perfecto!
I found the perfect piece of artwork over on Made.com which was great timing as the photo shoot that I did with them for Made Unboxed was already scheduled in for the end of January.
So here are some before, during and after photo’s. What do you think?

Before

Fireplace stripped bare ready to paint.

The primer that I couldn’t live without!
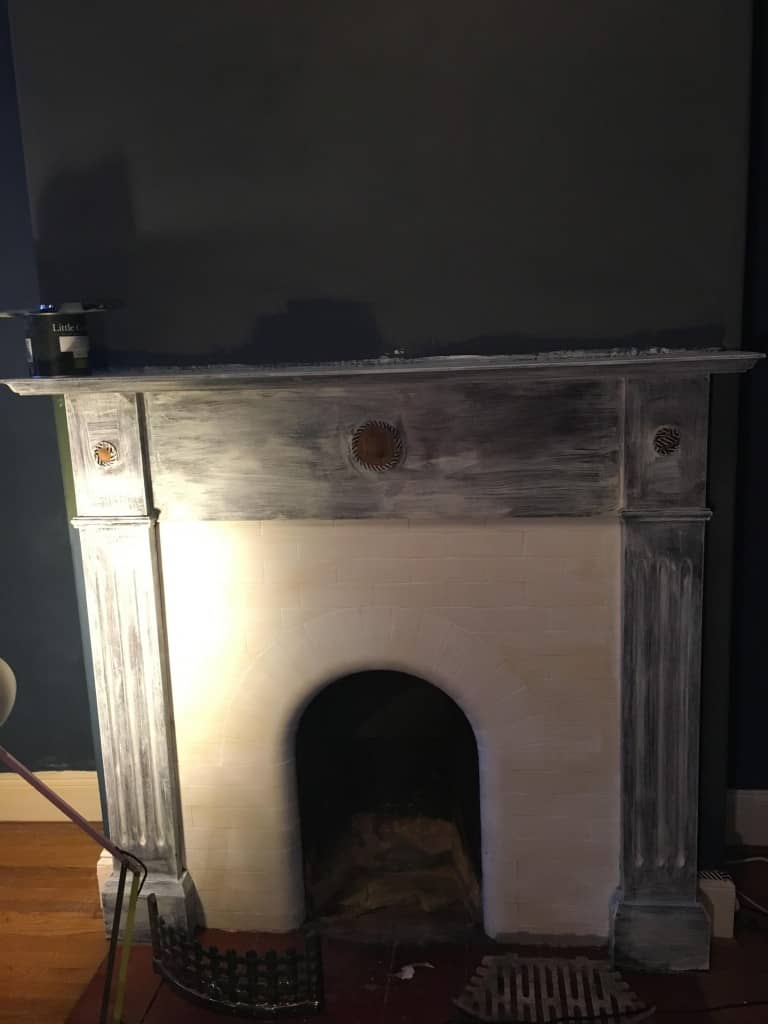
Primed and ready to rock and roll!

Voila!

Freshly styled mantelpiece.


![The best home update 🍿
Comment the word Link and I’ll DM you the details. Currently 24% off in the Prime Day sale [ad|affiliate]🎥🖤🎬](https://i.pinimg.com/236x/f7/9c/61/f79c619cd6359b98d5411a83d689517d.jpg)
![Suddenly, cooking is my favourite part of the day 📽️
Comment link below and I’ll send the link for my projector to your DM’s [ad|affiliate link]🍿🎬🎥](https://i.pinimg.com/236x/ad/c0/e5/adc0e5d6a3e006eabcfced46a4a83391.jpg)


Gorgeous! Where is your black/copper pot from, I’ve been looking for one just like it!
Hi, it was from Tk Maxx… sorry not much help!
Love this Kerry. I have a fireplace that has horrible brown tiles on it so I think I’ll paint them – after seeing this post I’m feeling inspired! I too love the Zinsser 123 primer, such a great product. Thank u 🙂
Hi Keira,
So glad you’ve found this helpful, painting them will make a huge difference. Would love to see some photo’s when you’re finished. Kerry x